Why You Should Consider Using DIY Piezo Buzzer in Your Projects?
In the world of electronics, a DIY Piezo Buzzer can be a game changer. Many projects need sound output, from alarms to music. A DIY Piezo Buzzer offers flexibility and creativity. It is small, lightweight, and cost-effective. You can integrate it into various devices with ease.
Creating your own buzzer may seem challenging at first. The components are inexpensive and easy to find. You might make mistakes along the way. That’s part of the learning process. Experimenting with different circuits helps you understand sound synthesis. Each attempt can lead you to unique results.
Using a DIY Piezo Buzzer invites innovation. You might discover new applications or improve existing ones. It encourages you to think outside the box. The possibilities are limited only by your imagination. So, whether you're a hobbyist or a professional, consider embracing this simple yet powerful component.
Understanding Piezo Buzzers: Basics and Functionality
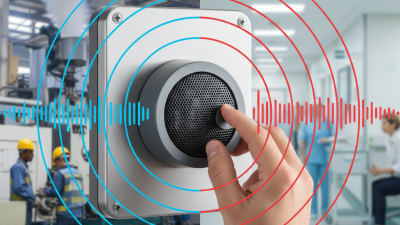
Piezo buzzers are fascinating devices that convert electrical energy into sound. They fit neatly into various projects, from simple alarms to more complex musical instruments. These buzzers are compact and lightweight, making them ideal for DIY enthusiasts. Engaging with these components also encourages creativity and experimentation.
Understanding how piezo buzzers function is critical. They typically consist of a piezoelectric material that vibrates when an electric current passes through it. This vibration creates sound waves. The pitch of the sound can be altered by changing the frequency of the electrical signal. However, this simplicity can be misleading. Building a circuit may pose challenges, especially for beginners. Misconnections can lead to unexpected outcomes.
When using piezo buzzers, consider their limitations. They produce sound at specific frequencies, which might not satisfy all project needs. Additionally, mounting methods can affect sound quality. Sometimes, tweaking the setup is necessary to achieve the desired results. Exploration is key, but it often requires patience and reflection on what works and what doesn’t. Experimentation with different configurations can yield surprising results, reflecting the true essence of DIY projects.
Benefits of DIY Piezo Buzzers in Electronics Projects
DIY piezo buzzers offer exciting possibilities for electronics projects. They are cost-effective and can produce sound with minimal components. This simplicity makes them a favorite among hobbyists and educators. You can use them for alerts, notifications, or even musical notes. Just imagine a small circuit that buzzes when a button is pressed.
Using a DIY piezo buzzer allows for creativity. You can design various sound patterns and frequencies. This experimentation enhances learning. However, you might face challenges like low sound intensity or unclear tones. It's essential to refine your connections and tweak the voltage. The process can be frustrating but also rewarding. Testing different settings can lead to unexpected results.
Another benefit is their lightweight nature. They can be integrated into compact designs without extra bulk. However, they need careful placement for optimal sound projection. Reassessing their position may be necessary. The learning curve is steep at times, but the satisfaction is unmatched. With some practice, you'll create compelling sound effects, making your projects more engaging.
Why You Should Consider Using DIY Piezo Buzzer in Your Projects? - Benefits of DIY Piezo Buzzers in Electronics Projects
| Feature |
Description |
Benefits |
| Cost-Effectiveness |
DIY piezo buzzers are typically cheaper than pre-assembled units. |
Reduces project costs. |
| Customization |
You can tailor the buzzer specifications to fit your project requirements. |
Allows for unique sound patterns and functionalities. |
| Simplicity |
Easy to integrate into various electronic projects. |
Ideal for beginners and educational purposes. |
| Power Efficiency |
Low power consumption compared to traditional buzzers. |
Extends battery life in portable devices. |
| Lightweight |
Compact size makes them easy to integrate. |
Perfect for space-constrained projects. |
Step-by-Step Guide to Creating Your Own Piezo Buzzer
Creating your own DIY piezo buzzer can enhance your projects significantly. With a basic understanding of electronics, you can assemble a buzzer that suits your needs. Piezo buzzers are versatile and commonly used in alarms, alerts, and sound indicators. The global piezoelectric actuator market is projected to reach $4.7 billion by 2025, reflecting their growing significance in various applications.
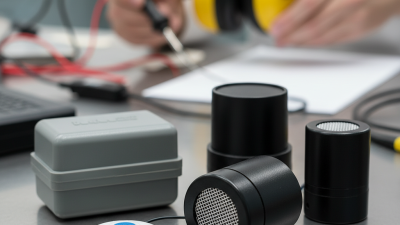
To make your buzzer, gather materials like a piezo element, wires, and a power source. Connect the piezo element to your microcontroller. Use a simple code snippet to generate sound. Pay attention to the voltage you provide. Too high a voltage might damage the element. Some may find this step tricky. Testing small increments can help avoid mistakes.
Tips: Experiment with varying frequencies for different sounds. You can create beeping effects or melodies. Use insulated wires to ensure safety during assembly. Remember, not everything will work perfectly on the first try. Make adjustments as needed and don’t hesitate to redo connections if the sound is off. Patience is crucial for DIY projects. Adjust your expectations; perfection might not be the goal.
Application Ideas for DIY Piezo Buzzers in Various Projects
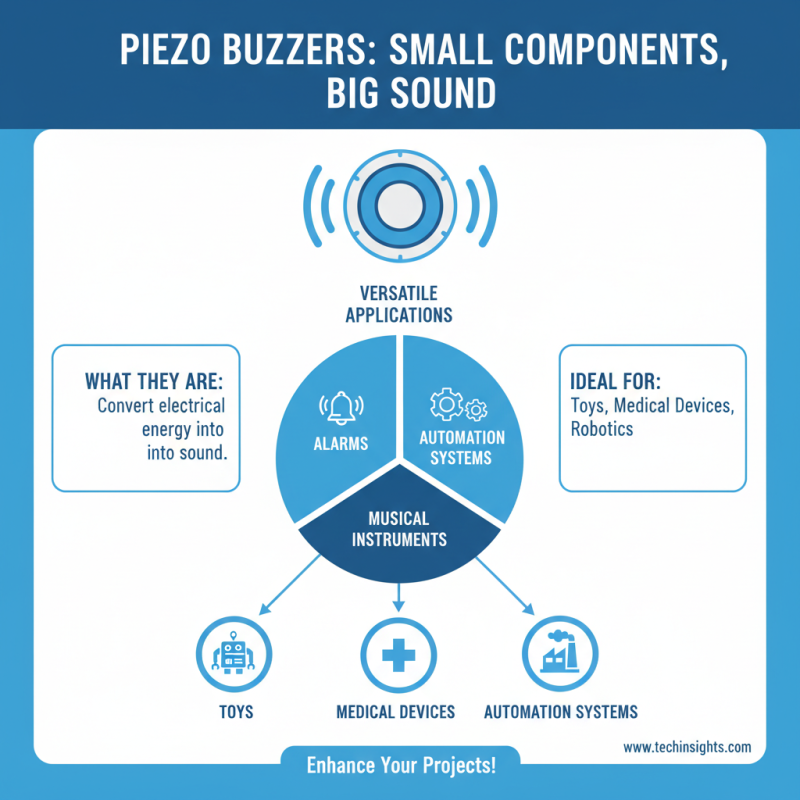
DIY piezo buzzers are simple yet versatile components that can enhance a variety of projects. These small devices convert electrical energy into sound. Their applications range from alarms to musical instruments. You might consider adding them to toys, medical devices, or automation systems.
In a robotics project, a piezo buzzer can serve as an alert system. When the robot encounters an obstacle, the buzzer emits a tone. This adds an audio cue for users. For educational purposes, using buzzers in coding projects can teach children about sound and programming. Sounds can simulate events like notifications or errors.
Tips: When integrating buzzers, consider the power requirements. They don’t need much, but ensure your circuit can support them. You may need a transistor for better control. Experiment with different frequencies; it can change the sound produced.
You might face challenges with sound quality. Sometimes, the buzzer makes a high-pitched noise that can be irritating. Reducing the voltage or using filters can help. Listen to the sounds produced; it can lead to better project outcomes. Understanding sound can improve your designs significantly.
Comparing DIY Piezo Buzzers to Commercial Alternatives
When considering DIY piezo buzzers, the comparison to commercial products brings intriguing insights. Industry reports indicate that DIY solutions can offer similar sound performance at a fraction of the cost. A typical commercial piezo buzzer may cost around $5, whereas a DIY option can be built for less than $1. This significant difference invites exploration into the world of DIY electronics.
The sound pressure level (SPL) is a crucial factor. A commercial buzzer often achieves an SPL of 90 dB. However, a well-constructed DIY piezo buzzer can reach 80 dB. While this is lower, it still serves many applications effectively. The nuance is that DIY buzzers allow for experimentation with different sound frequencies. Builders can enhance their sound design in ways that commercial options may not offer.
However, it's essential to recognize the potential pitfalls. DIY projects can sometimes yield inconsistent results. Variability in components may impact sound quality and durability. Hobbyists might face challenges in achieving a refined sound. Nevertheless, hands-on experience often results in valuable learning opportunities. Embracing the imperfections in the process can lead to better skills and innovations in future projects.